


Setting Up Your Christmas Tree
We’ve ensured tree set-up is incredibly easy. See below for a comprehensive video, or further down for a step-by-step pictorial guide.
Step 1: Unboxing and Identifying the Parts

Open up the Christmas tree carton box. Your package should consist of a Christmas tree base stand and several tree parts. Different trees and sizes will have a different amount of parts than the others:
5 ft trees: 2 parts and 1 metal base stand (plastic stand for the Mirabella)
6 ft trees: 3 parts and 1 metal base stand
7/8 ft trees: 4 parts and 1 metal base stand
Take note: The longest part of the tree will be slotted into the base stand later.
Step 2: Setting Up the Base
Adjust the stand until it makes a perfect ‘X’ shape (as seen in the image). Align the holes together for your screw to enter in a clockwise manner. Do not screw too deeply at this point as this will prevent the first part of the tree from entering the base stand.
See below if you need to view a video guide:

Step 4: Building the Tree
As mentioned in step 1, take the longest part, and insert it into the hole of the base stand. As it is the longest, it will also be the broadest when it opens up.
After which, tighten the screws of the stand so that the base would be stable.


A Side Note: FirTECT™ Easy-Open Branches
Unlike traditional made Christmas trees, where you have to manually bend each branch from its stem, FirTECT™ Christmas trees have their branches hinged. This way, they open up automatically when in an upright position, like an umbrella.
The aforementioned traditional style of opening up a tree branch manually will result in the metal joints becoming weaker over time. This is because you will be bending the branches repeatedly every year when you set up the Christmas tree. Imagine bending a metal spoon and re-straightening it over and again.
In contrast, FirTECT™ Christmas trees with their hinged branches will stay strong and intact forever.

The portion of the tree being ‘closed’ when held in an upside down position.

The portion of the tree automatically opening up when held in an upright position.
Step 4: Building the Tree (continued)
Fit the other parts of the tree together. The head of the tree (smallest part), goes into the section that has a square opening.
As mentioned in the text before this, all the branches should nicely fall into place. After all sections of the tree have been connected to each other, this is how your tree should now look like.


Step 5: Shaping the Head
The top part of the tree is the smallest and hence, cannot come with hinged branches. This goes for all trees. Manually pull them out till you achieve a nice and complete triangular shape. A video guide is also provided below.

Step 6: Shaping the Entire Tree
You’re nearly there! Open up each branch. Do not leave any branch closed. You will be able to achieve a very dense looking Christmas tree, as seen in the next photo!
To store, close the branches, and the tree is ready to be kept away until the next Christmas.
We have provided a video guide too on how to shape your Christmas tree.


You’re done!
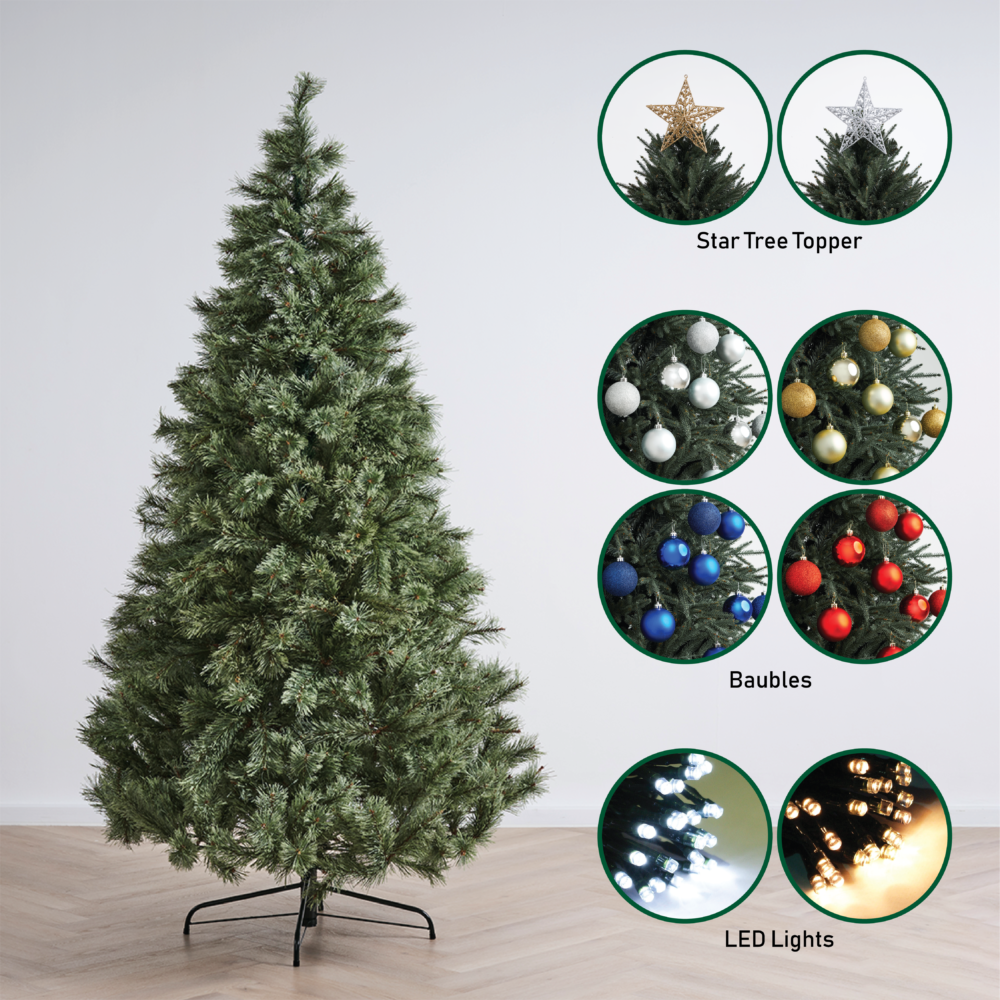
Now that you’ve completed your Christmas tree set up, it’s time to put on some ornaments!
See also:
Premium Bundles (Ready Designed Trees)
How to Decorate Your Christmas Tree
The Ultimate Guide to Tree Decorating (Decorate Like a Pro)